How to Lay Paving Slabs on Sand
Welcome to JW Clark Ltd., your trusted source for expert tips and techniques on laying paving slabs on sand. Whether you are a DIY enthusiast or a professional contractor, we have you covered with comprehensive guidance that will help you achieve outstanding results. In this article, we will walk you through the step-by-step process of laying paving slabs on sand, ensuring longevity and durability for your outdoor projects.
Why Choose Sand as the Base for Paving Slabs?
Before we dive into the details of the installation process, let's understand why sand is commonly used as the base material for laying paving slabs. Sand offers several advantages, including:
- Easy Leveling: Sand provides a smooth and level surface for your paving slabs, ensuring a professional finish.
- Excellent Drainage: The porous nature of sand allows water to drain through, preventing the accumulation of moisture beneath the slabs.
- Frost Resistant: Properly installed sand bases can withstand freezing temperatures, reducing the risk of cracking or shifting.
- Cost-Effective: Sand is an affordable material that can be easily sourced, making it a cost-effective choice for many projects.
Step-by-Step Guide to Laying Paving Slabs on Sand
1. Preparation
Before you begin the installation process, it is crucial to prepare the area properly. Follow these steps:
- Excavate: Remove any vegetation, debris, or existing paving in the area. Excavate to a depth that allows for a minimum sand layer of 2 inches.
- Compact the Soil: Use a plate compactor to ensure the soil is firm and stable. This helps prevent future sinking or movement of the paving slabs.
2. Lay the Sand Base
Once the area is properly prepared, it's time to lay the sand base:
- Add Weed Barrier: Place a weed barrier fabric over the compacted soil to prevent weed growth and maintain the stability of the sand base.
- Distribute Sand: Spread a layer of sharp sand evenly over the weed barrier, using a rake to ensure a smooth and consistent thickness. The recommended sand depth is around 1.5 to 2 inches.
- Level the Sand: Use a straight board or a screeding tool to level the sand, making sure it is even and flat. This step is essential to ensure a proper foundation for your paving slabs.
3. Install Paving Slabs
Now that you have a well-prepared sand base, it's time to lay the paving slabs:
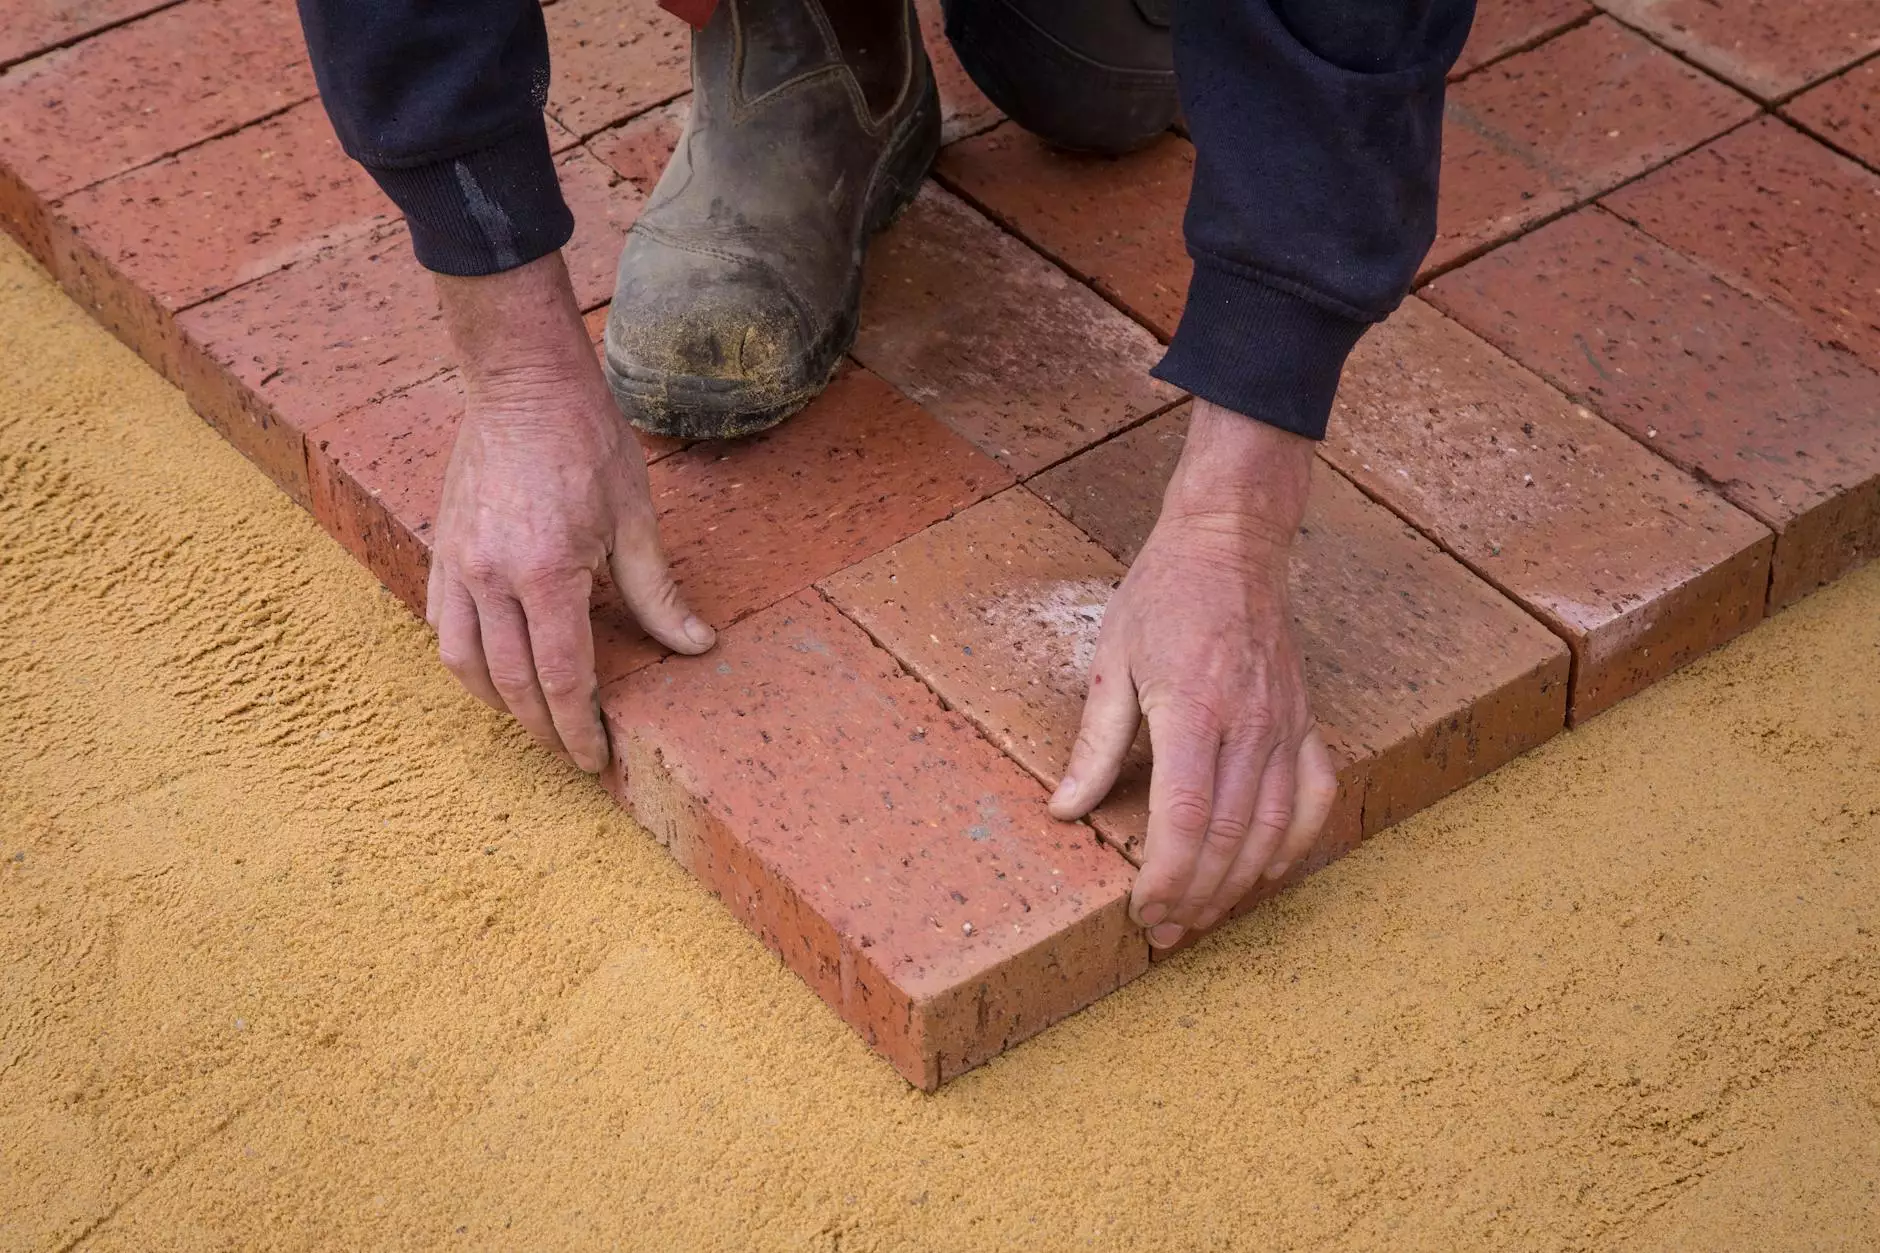
- Start from a Corner: Begin laying the slabs from one corner, working your way towards the opposite end. This ensures a systematic and organized installation process.
- Place and Align: Lay each slab carefully onto the sand, gently tapping it with a rubber mallet to ensure it sits firmly. Use a spirit level to check for proper alignment and adjust as needed.
- Leave Proper Gaps: Maintain consistent gaps between slabs to allow for expansion and contraction. Use plastic spacers or other suitable materials to achieve the desired spacing.
- Ensure Evenness: Regularly check the slabs' levelness and adjust the sand beneath if needed. This will help prevent any unevenness or wobbliness in the finished surface.
4. Finishing Touches
Completing the installation process involves a few final steps:
- Jointing Sand: After all the slabs are in place, spread jointing sand over the surface and brush it into the gaps using a broom. This helps secure the slabs and enhance stability.
- Compact and Secure: Compact the paved area using a plate compactor to ensure the slabs are tightly secured and any remaining gaps are filled with sand.
- Clean and Seal: Give your newly laid paving slabs a thorough clean to remove any excess sand or debris. Consider applying a sealant for added protection against stains and weathering.
Conclusion
Congratulations! You now have a detailed understanding of how to lay paving slabs on sand effectively. Remember, proper preparation and execution of each step are crucial to achieve long-lasting, aesthetically pleasing results. At JW Clark Ltd., we take pride in delivering high-quality materials and expertise to help you succeed in your outdoor projects. Whether you're tackling a small patio or a large driveway, our team is here to assist you every step of the way. Start transforming your outdoor space today with confidence and let your creativity shine!